
(Get ready for a post with far more pictures than necessary.)
I'm not sure when I first discovered the idea of quiet books, but I really like them. They are so versatile, and can be made for nearly any learning level; I've seen everything from 'how to lift a flap' to 'learn the animals of South America'. Most quiet books, however, seem to hover around the basic ideas of colors, numbers, matching, and similar skills - things appropriate for (usually) a 2-5 year old.
I really wanted to make one for Josephine, but she's not yet even 1. We had two weddings within a week, though, and I wanted to have something quiet for her to do during the ceremonies. After lots of research (of course) and planning, I decided to make a rainbow book. (Anyone surprised?) This book isn't necessarily meant to teach her colors, though. The colors make it fun to look at, but mostly this book is about textures, which is perfect for a not-quite-1-year-old.
To start, here's a quick overview of the pages:


I'll also go over each page in much more detail, but feel free to skip ahead to the pictures of Josephine if you don't want all the details. :)
The cover page isn't necessary, but it's pretty. I really like how the pink thread looks on the blue hearts, but honestly, I initially only did that because I didn't have blue thread.

All the letters and hearts are hand-stitched on.

The pages are machine stitched together (to hide all the messiness on the back of each page) and then I inserted grommets using my Crop-A-Dile. (Yay $5 Goodwill finds!) The back of the grommet is pictured below. While it looks a little rough, I don't think Jo could hurt herself on it.

I used binder rings to bind the book. It's tidy and sturdy, but I can change out pages if I ever want to.

My first step in making the letters was to trace them on felt. This wasn't super smart, as I used a blue fine-tip Sharpie, and I couldn't cut close enough to remove all the traces of it.
For the red page, I used three pieces of different red fabrics to make flaps, which I machine-stitched to the felt. Under each flap, I hand-stitched something similar to the pattern on the flap fabric (squares and circles under the geometric patterned fabric, a flower under the rose fabric, and a felt heart under the heart fabric).

The orange page is probably my favorite. I didn't know if it would turn out how I envisioned it, but it did, and I'm very proud of it! Josephine is fascinated by zippers, so I wanted to include one somewhere in the book. I purchased a short orange zipper and sewed it to some plain orange fabric. I cut it into the largest circle I could make fit on the page, then used a satin stitch on my sewing machine to attach it. As a last minute detail, I made a leaf out of green fabric to serve as the zipper pull. I think it makes the whole page!

I know she's a little young yet to learn her numbers, but it never hurts to include learning when there's something fun involved, too.

I attached the numbers using extra-strength Heat'n'Bond.

Under each flap, I sewed the corresponding number of buttons.

Aren't they cute?

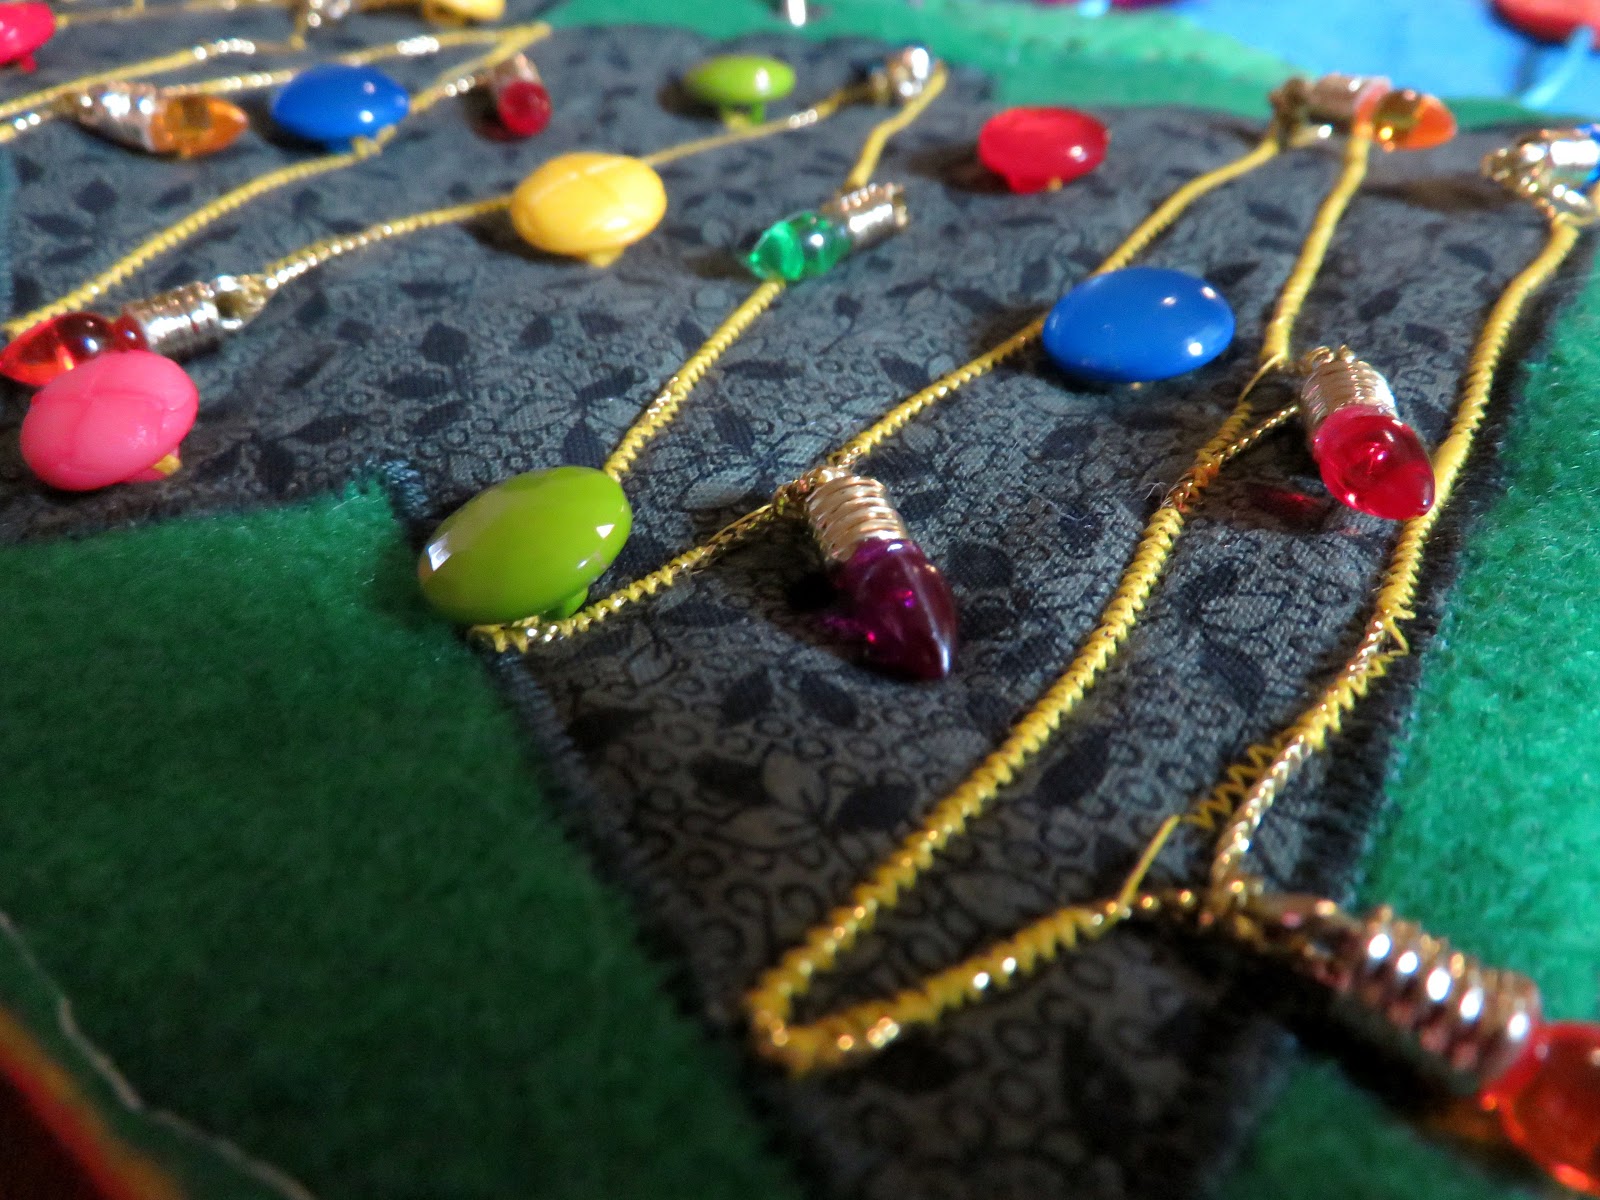
The green page was inspired by a cute quiet book page idea I saw on Pinterest where the child could decorate a tree in the book. Josephine is much too young for that, so instead, I just made and decorated a tree for her to look at and touch.

I found the Christmas light garland in the mini Christmas tree section at Hobby Lobby. I attached it using yellow thread and the satin stitch on my machine. Gold thread would have been better, but I didn't have any on hand.
The blue page came directly from an idea I saw on Pinterest. The fish are strung on thin blue cord, so they can move back and forth.


The purple page was the simplest to put together: just a bunch of various purple ribbons. Lots of different textures to feel.

And so pretty!


Josephine seemed to like it!


Love and (Lots of) Felt,
Leah Joy
No comments:
Post a Comment