Babies are expensive. Everyone who's ever received that ginormous hospital bill knows that. And then the clothes - who else gets to change their wardrobe four times a year? (Other than supermodels.) This is, of course,
why I garage sale. And yet, there are times when I really want a specific onesie, or I've only been able to find plain ones, and I want to make them a little cuter.
Thus, my 'journey' of decorating onesies began, and today I'm going to share with you what I've learned, along with some pictures of all the onesies I've decorated so far. My skills have definitely improved over time!
The simplest way to decorate a onesie is with a Sharpie, but you can make it just a bit nicer by using a black fabric marker. These are only a few dollars each and should last quite a while. That's how I made my first several onesies.
As a general rule, I cannot take credit for the following designs. For the most part, I copied them from various sources around the Internet. Where applicable, I'll link to my source.
As you can see, I stuck to white onesies with black marker. While they're still cute, they look very unprofessional. This is fine; babies make everything look better. And yet, I wanted to up my game.
Enter the freezer paper stencil. I haven't posted a lot about
freezer paper stencils before, but they're really a genius (and very cheap) way to personalize fabric. There are plenty of great tutorials out there, so I won't go into all the details of how to do it. The only cons I've found to freezer paper stencils are: (1) for the amount of time you put into making them, they're not reusable and (2) it's really tricky to do designs with a lot of lettering.
I also branched out into non-white onesies. Here are the first few I made:
I've made this design as an
adult-size t-shirt before, using just fabric markers. It's hard to tell in the picture, but the silvery paint is actually quite glittery. This was a bit tricky to stencil, but for the most part it's just basic lines and simple curves. The trickiest part of freezer paper stenciling (so far, for me) is keeping track of all the little inside pieces - those have to be ironed down separately, and they're so tiny and easy to lose.
This onesie is bright orange, so it took several (4-5) coats of fabric paint to get good coverage. After removing the stencil, I free-hand painted in the small details: the dots, the 'banner', and the little sunshine dashes.
These next three were done at the same time, but here I actually used patterned onesies for an extra professional look.
I loved the little pink bow on this onesie, so I tried to match the paint to the bow color. This onesie is super sassy, and looks great with Jo's purple ruffle skirt.
I'm pretty sure this was originally supposed to be a boy's onesie, but there's nothing boyish about it now. The glitter doesn't show up well in the picture, but the words are mega-sparkly.
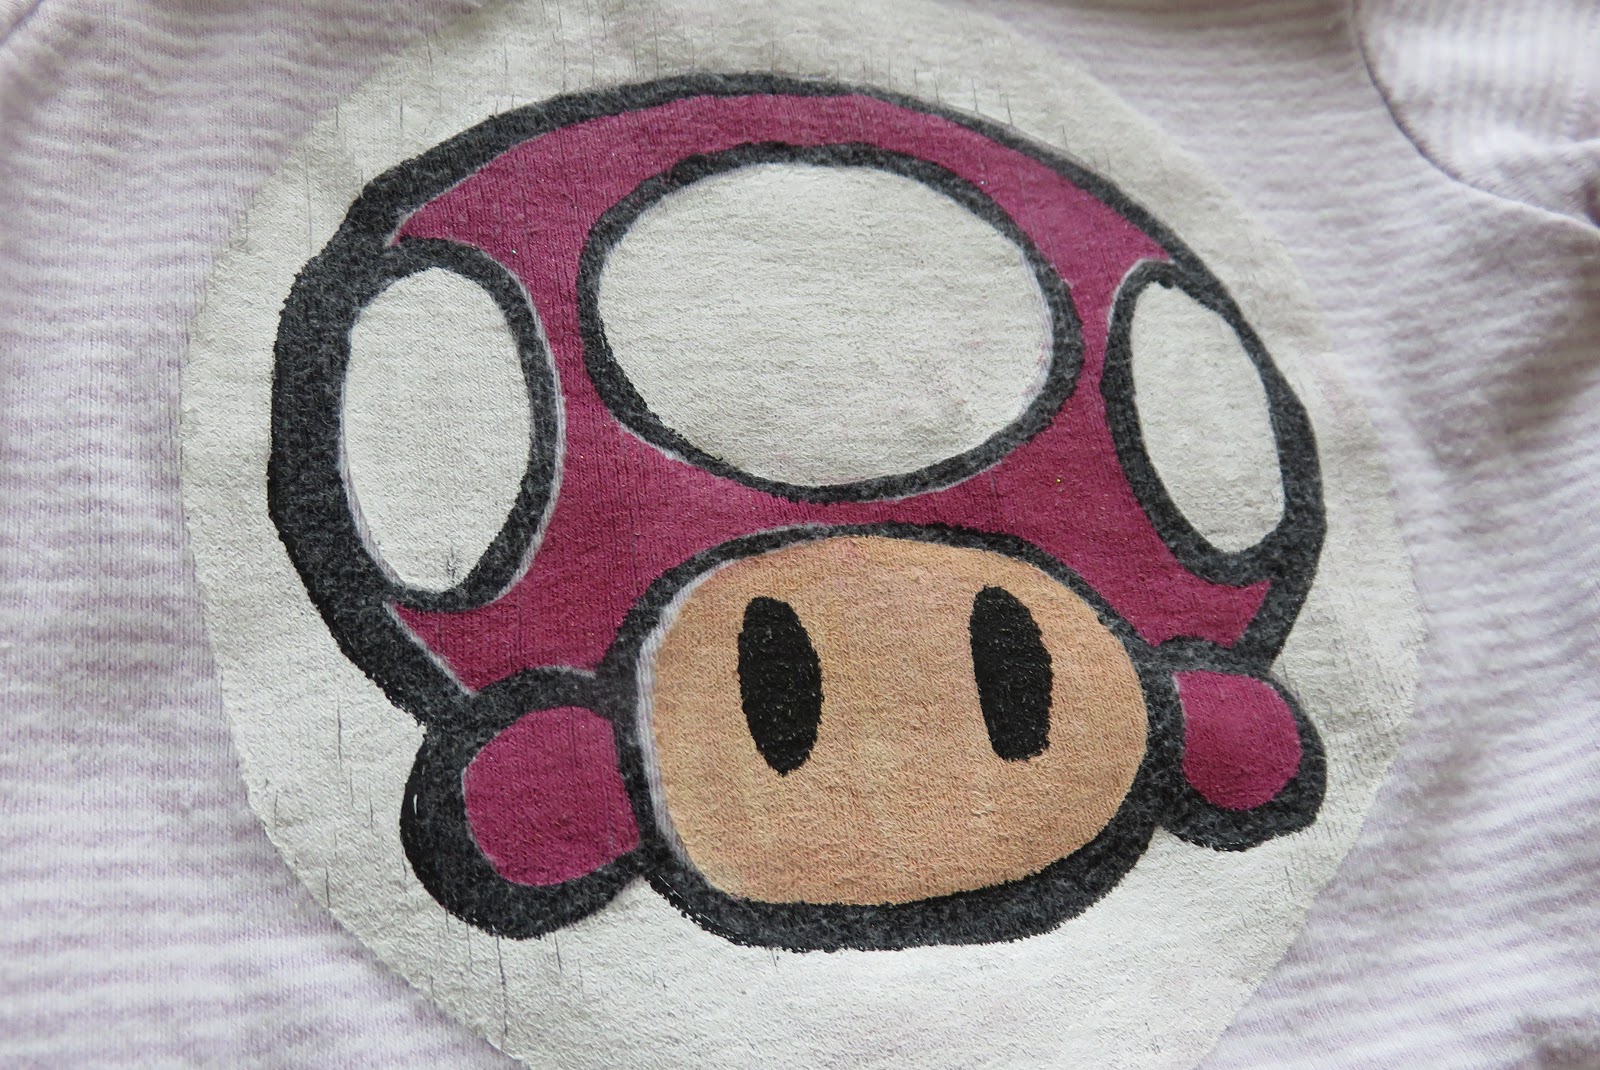
For this one, I just copied Toadette's emblem. This one actually required two different stencil applications. I first painted the white, pink, and peach parts, and then once those were thoroughly dry, I put freezer paper stencils back over them and painted the black parts.
There are a few gaps in the paint, but when Jo's wearing it, you don't really notice them.
I sort of designed the pattern for this next one - I found the wreath as a free vector image, and chose a font I liked. :) The quote is from Emma by Jane Austen.
I love how it looks on this little ballerina-esque onesie!
For my final (for now) set of onesies, I had a handful of blank white onesies. By now, I've learned that if I want a white onesie to look professional, I need to either add a lot of color, use a fairly complicated design, or at least choose a design with colors that wouldn't really look good on any other color. Here's one of each solution:
I sort of designed this one as well. The quote is from Pride and Prejudice by Jane Austen. I found the wreath as a free image online, although I chose to free-hand paint my own flowers (after the stenciling). I used the font Simplicity. I painted the words in a subtle blue-purple gradient.
This is probably the
nerdiest thing one can put on a Star Wars onesie. :) I stenciled the letters and the basic shape of the gun, but I free-hand painted all the little light grey lines on the gun.
For this one, I downloaded the font 'Harry P', to make it look extra Harry-Potter-y (totally a word). It's hard to tell in the pictures, but the Snitch is extra-sparkly.
So this was mostly just to show you what I've been making, but maybe I've also succeeded at imparting a few tips for making your own.
I use So-Soft fabric paints, of which I have a whole rainbow (plus black, white, and glitter) that I purchased probably 8 years ago (and they're still going strong).
Love and Paint,
Leah Joy