
EDIT - April 2014 - I may have thrown the lid in the dishwasher or I may have just hand washed it (honestly can't remember), but it has been rusting for several months. I'm considering trying this again and looking for some sort of food-safe sealer to apply.
This is my new favorite project for so many reasons:
1. Cheap. I bought the jar at Hobby Lobby for $1, but I'm sure you could find one cheaper, or you may already have one. I bought the grommets at Lowe's for $1, and it's a two-pack. Those are the only ingredients, aside from a drill bit, a drill, and straws. I borrowed the drill bit from my dad; I have a drill; and you can get 180 straws at the Dollar Tree for $1.
2. Cute.
3. Quick and easy. Other than the time it took to find the parts, this took 5 minutes. Drill a hole, pop the grommet in, wash, and go!
4. Practical. Now I can take lemonade from home to work without spilling.
5. Earth-friendly. You could make dozens of these and use them for a party instead of paper or plastic cups. You could make labels to tie on, so people would know which one was what one and what one was whose. And it'd be so cute!
Anyway, enough rambling. Check out the original directions from AdelynSTONE for a great tutorial.
Gather:
Mason Jar and Lid
9/16"-1/4" Rubber Grommet
3/8" Drill bit
Electric Drill
 |
| The drill bit is not in this picture because I didn't have it yet. |
 |
| Here's what the grommet package looks like. |
My dad always taught me to drill over a block of wood, but in this case, the original tutorial is correct. Drill over the cup, because otherwise the bit won't go through. Now, I realized that in my collection of drill bits, and even in the box my dad had left at our house, the largest size I had was 1/4". I thought I could make it work. Watch me fail.
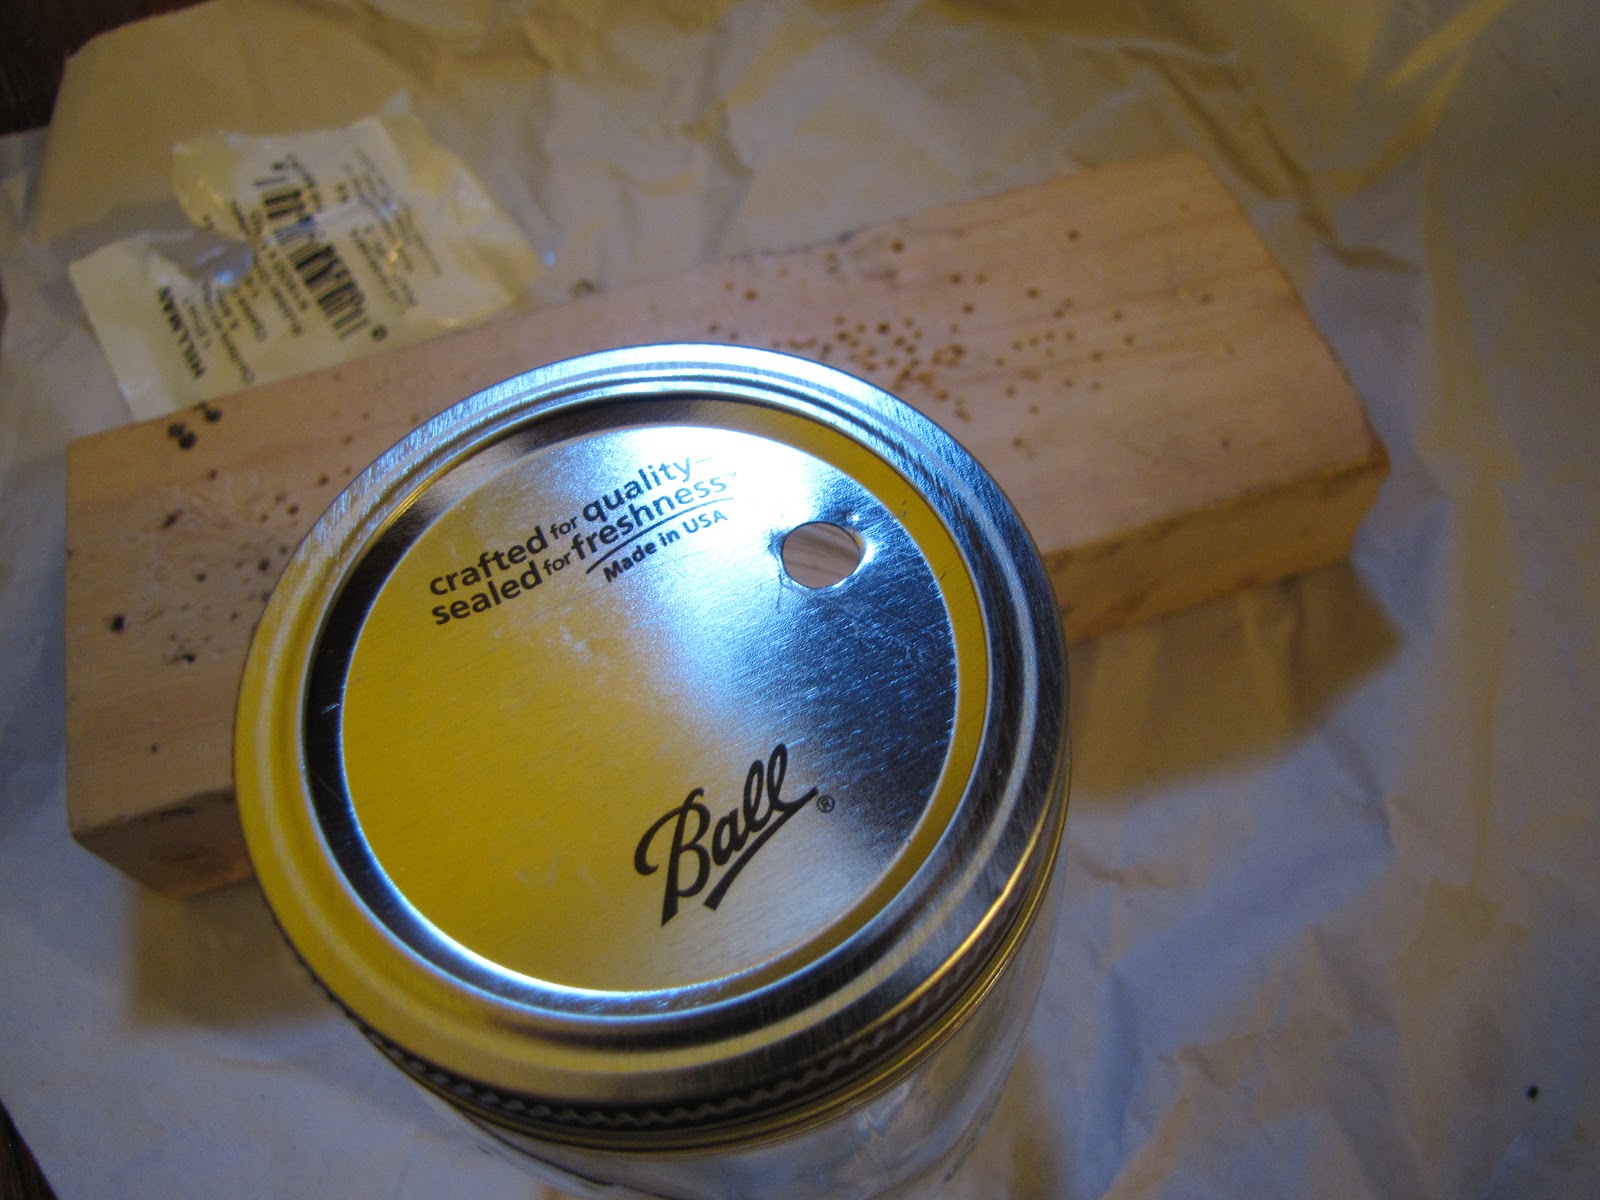 |
| This is a 1/4" hole. |
Now, the inside of the grommet is 1/4", but the outside is bigger and will not fit.

I tried anyway:
 |
| And in doing so, destroyed this grommet! |
To get the straw in, I had to twist and fold the end and thread it in. Kind of not practical or pretty:

So, I borrowed a 3/8" bit from my dad, made the hole bigger, and then the 2nd grommet popped in no problem. So I mixed up some Kool-Aid strawberry lemonade (which is not worth the 10-cents or your cup of sugar - but if you happen to make it anyway, add a dash of lemon juice to make it taste better) and here she is:

So cute! I want to make a million more and give them to everyone I know! And final cost for me, since I sacrificed the first grommet to the name of science and determination, was $2 for this cup. Not bad for something very reusable!
Love and Kool-Aid,
Leah Joy
What keeps the grommet from falling into the jar when you put the straw in?
ReplyDeleteLOVE the idea!
It's kind of hard to explain, but I'll try. The grommet has two 'lips', but in between is the part that sits in the hole. The 'lips' hang over each edge. If you look at the rubber grommets at Lowe's, you'll see what I mean. It's very sturdy. :) Hope that helps!
Delete