Showing posts with label New House Tour. Show all posts

Friday, June 7, 2013

Bedroom Updates

To round off our week of home improvements, I thought I'd share some significant updates in our bedroom.

First is these nightstands.  We found them on Craigslist (after months of searching) for $20 each.  There's a matching one for Caleb (that's right, he doesn't have to use a chair anymore!), but it was too cluttered to take a picture of it.  Mine doesn't usually look this neat, but I cleaned it up for you guys.  I still haven't decided what I'm going to do with the shelf, but I love having drawers and so much space.


And yes, thank you, I am aware that black is a dust magnet.  You would only be the 472nd person to tell me that.

In addition, we also hung up most of our pictures.  As we make more significant updates in the other rooms, I'll show where those ended up (do you really want a post full of pictures of pictures?), but for now, check out what we did above our dresser.


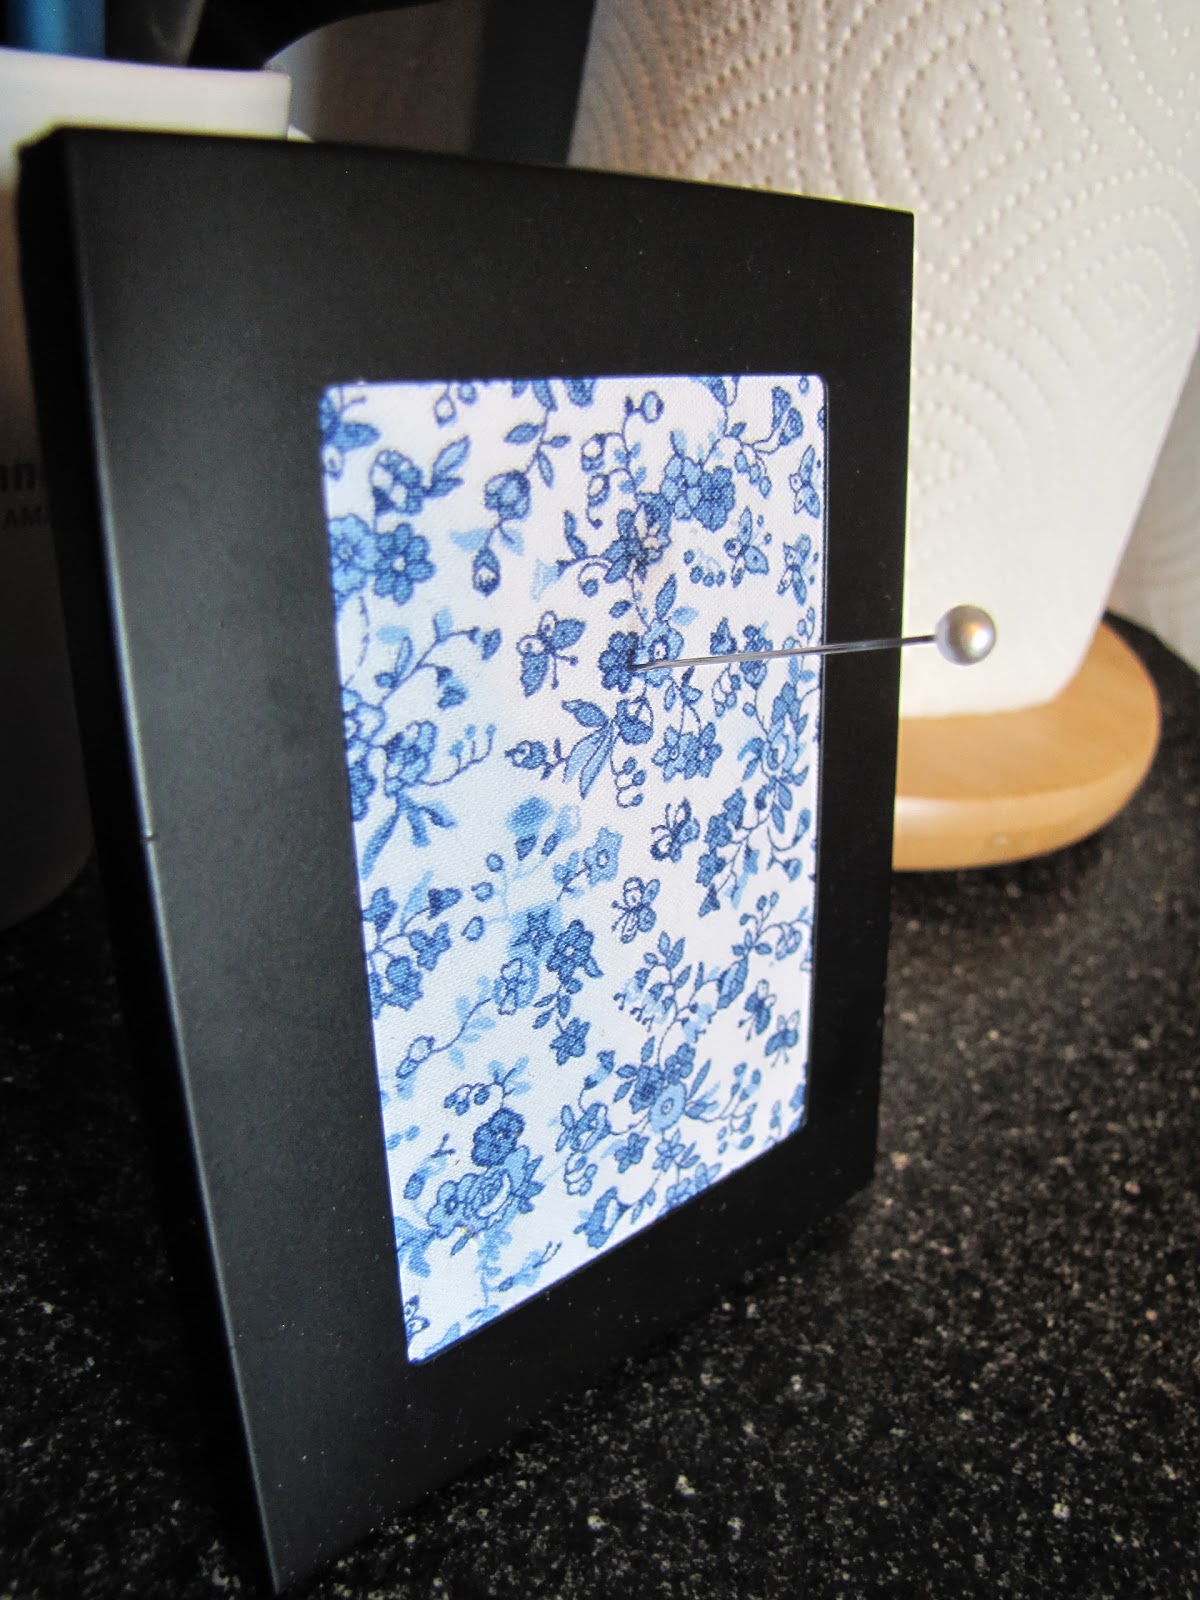
I really love how clean, serene, and peaceful our room feels.  I don't want a lot of clutter on the walls, but I think this is the perfect amount.  My aunt made this piece for us as a wedding/housewarming gift (it took her 2 years!).  We hung it between the letters she made for us.


Isn't it beautiful?!

Love and TGIF,
Leah Joy

Thursday, June 6, 2013

Bathroom Cupboard

As long as we're on the topic of cupboards, I thought I'd share with you the organizational updates we made in our bathroom 'pantry' cupboard.  As with our kitchen cupboards, this one was never organized.  We just took things out of the box labeled "Bathroom" and put them in the cupboard.


And of course, I didn't take any before pictures, but it was pure chaos, I'll tell you.

Here are the top three shelves.  The top is for my stuff.  Gosh being a woman takes a lot of products.  I do love having it all on one shelf, though.  It used to be split among 4 shelves, and now I know where everything is.  The next shelf is for first aid (on the left) and Caleb's stuff (on the right).  The third shelf down is for bath and hand towels.  I read somewhere on Pinterest that folding your towels in thirds saves so much room, and I would say it depends on your space and towels, but in our case, it does save a lot of room!  We can fit both of these sets of towels on one shelf neatly.  (We have 4 towels of each kind - 2 in green and 2 in blue - but the other ones were in use at the time of this picture.  However, if we wanted to, they'd all fit here neatly.)


The lower shelves hold more varied items, because they're the shelves that are actually hardest to reach for us tall folks.  The first one in this next picture holds a basket for smaller spare items (in the back), a spray bottle, sun necessities, paper towel, a box for our washcloths, and my hair doodads (in the blue tote).

Below that is more spare items, plus Caleb's beard trimmer stuff that he doesn't need every day.


Here's more close-up at our washcloth box.  Of course it's not very cute, but it's very functional, and I can cover it in something eventually.


And here's a better shot at that spare items basket - isn't it so cute?  (Goodwill for $2!)


In addition to that, I wanted something tall and thin to fit in that space between the cupboard and the sink.  The sink 'counter' isn't very large, and when Caleb needs to charge his electric toothbrush or razor, it gets really cluttered.  But I also didn't want something too solid, because there's a vent by the floor.  Plus, the space is only 11 inches wide, so our options are really limited. My mom found this shelf at a garage sale for us and thought it'd be perfect.  I do really like it for holding the items that need to charge.  And I now have space for a small clock - so I know if I need to rush my bathroom stuff or not.  I don't want to put stuff on all the shelves because of the vent, but it's nice to have more options.  


(And yes, we'll probably be moving the towel bar up a bit.)

Love and Toiletries,
Leah Joy

Wednesday, June 5, 2013

Kitchen Cupboards: Part 4

Monday, I shared pictures from our upper cupboards - here are our lower cupboards.

The far left was converted into trendy open shelving (mostly to avoid mice) - and the whole area was lined with more Dollar Tree shelf liner.

On the top part, we keep our pots and pans (with the lids in the back) and our big mixing bowls.


Just below that, we keep our popsicle molds (when they're not in the freezer), pie crust protectors, pie plates, and baking pans.  (In the back are less-used small appliances like the waffle maker.)


On the right section, behind the doors, we keep baking supplies.  Open canisters and containers stay on the top.  Below are more baking pans, cutting boards, cooling racks, and extra unopened supplies.


And that, my friends, concludes our kitchen cupboard tour.  The only things I didn't show are the cookie sheets - these we keep in the drawer under the stove.

I can't tell you how much I love having my cupboards organized.  I know where everything is, and it's all in places that make sense.  And all my baking supplies are right by my mixer, instead of in 12 different places around the kitchen.  I already loved baking, but now it's so much better!

Love and Mermaids,
Leah Joy

Monday, June 3, 2013

Kitchen Cupboards: Part 3

This is probably the part with the most dramatic change.


Of course, the appliances are one of the biggest changes, but we also tore out and replaced most of the upper cabinets, and converted the back part of the lowers to open shelving.


Today, I'll be sharing pictures of the uppers.  

Above the microwave is our 'pantry' for storage of extra items.


(Note the foreshadowing of the rainbow Jell-O!)

Next to that is our tall, skinny cupboard.  The top shelf is for cold drinks, the middle shelf is for hot drinks, and the bottom shelf is for vitamins and medications.


My dad installed a lazy susan in the corner shelf, and I keep our mugs on it (and our big hot chocolate canister, because it doesn't fit in the other cupboard). 


On the bottom, I keep hot pads and oven mitts for easy access next to the oven.  Also: cooking spray and the microwave cover.


On the other side: the meat thermometer, toothpicks, matches, and an air freshener.  There's no particular reason for the fun dish, I just didn't know where else to put it.


The final upper cupboard is really the piéce de résistance of our cupboards.  Before, it just held random odds and ends.  Thanks to my mom and sister, this cupboard turned into a dream.  It is so nice to have everything right here and on eye level!  We tried to split up the spices and small baking ingredients into cooking on the left and baking on the right.  The top shelf is for extra baking/cooking things: popcorn, bread crumbs, sifter, etc.


Come back on Wednesday for the final installment in our kitchen drama!

Love and Baking Powder,
Leah Joy

Friday, May 31, 2013

Kitchen Cupboards: Part 2

Today, you get to peek inside the cupboards by our sink (not under yet, that's another story).  Here's a reminder of how it looked when we bought the house:


With some paint and TLC, we turned it into this:


But, as I mentioned yesterday, things just kind of got thrown in the cupboards randomly.  Add in a mouse mishap, and more things getting moved, and we had some very messy drawers.  (Tee hee!)

Above the counter, we have most of our dishes.  This is where I'd like to eventually have a plate rack like this one - it would use a lot more vertical space, which will be nice when we have kids and our dishes increase exponentially.


On the counter, I have this tray from my grandma, where I keep my rainbow mugs, jars, and a cute bowl for odds and ends.


Underneath, our top drawer is for silverware (yes, we do have a lot of spoons).


The middle drawer is for plastic wrap, aluminum foil, bags, etc.  When we first moved in, a lot of boxed foods and spice mixes got put here, and there was a mouse incident.  We moved everything that survived, and the mouse hole got closed up, but I'm still not sure I ever want to put food here again!


Until recently, the bottom drawer was for our plastic containers (which you saw yesterday in a much more convenient location), but they'd always get stuck and there was barely enough space.  Now, the bottom drawer is for towels, cloths, hot pads, and some oven mitts.  Yes, we also have a lot of towels.


See you next week for more of our kitchen!

Love and Stripes,
Leah Joy

Thursday, May 30, 2013

Kitchen Cupboards: Part 1

Number 36 on my 101 Things in 2013 list is to organize my kitchen cupboards.  My mom and sister came over to help me work on some house projects, and though they had to leave shortly after we started this one, just that little kick inspired me to finish the whole thing.  There are still a few organizing gadgets I'd love to have eventually, but they're not in the budget right now, and we still have enough room without them. 

So, for the next few days, I'll be taking you through our kitchen cupboards, one section at a time.  Yes, that's right, folks, you get to snoop inside all my cupboards!

Also, in order to make up for not taking before pictures of the awfully organized cupboards ("Throw everything from the 'Kitchen' boxes into a cupboard" may be an efficient moving technique, but is not the best method for organizing.), here's a before-before picture.


Here it is painted a much nicer color, and with new drawer pulls!


There are still boxes on top - I haven't organized that far.  

And inside:


A lot of empty space, I know, but since we plan on having kids eventually, we're okay with empty space now.

On the left, from top to bottom:

Top shelf: kitchen linens.  I'm sure someday we'll use some of our 19 placemats.  I've actually decided that I like using a tablecloth, though, which isn't something I thought I'd ever say not at a picnic.  We have three tablecloths, but I don't think I'll be bringing out the white one very often.  (Have you met us?)  To the very right of this shelf are a few parts to kitchen gadgets that I don't use very often.  (Like the pour spout for our blender that only works if your beverage is as thin as water.)

Middle shelf: kitchen scale and a container that I haven't decided how I want to use yet.  This is also where opened bags/boxes of snacks go, but right now, we don't have any.

Bottom shelf: Saltines, peanut butter, honey, and the butter.  More snacks could go here if we had them.


And on the right:

Top Shelf: Cereal (usually we just have Raisin Bran, but we had guests coming and I wasn't convinced they were as monochromatic in their breakfast choices as we are), oatmeal, syrup, and cookbooks. 

Middle shelf: Aprons and ice cube trays (and ice cubes - the reusable kind)

Bottom shelf: paper and plastic-ware, including straws.


On the counter:


No, our toaster oven doesn't get any cleaner than that.  (And where has the infamous chore chart gone?  Don't worry, he'll be back.  He's just been moved to a more prime location.)  And check out my new ring holder!  I wanted one for the kitchen for when I'm cooking, and I had a little strip of leftover fabric from my curtains, so....


Below the counter are two drawers.  On the right:

Containers for lightbulbs, batteries, rubber bands, and tape - typical junk drawer stuff, but corralled.  Then our clips, some various spatula-type things, sharp kitchen tools, etc.


Both drawers are lined with liner from the Dollar Tree.  The rolls are pretty small, so I would say I probably got about 1 drawer from each roll.  I had to tape it down, though, so it wouldn't scrunch up.

Left drawer: measuring cups/spoons, funnel, rolling pin, and more spatulas and whisks.


Below that are two big cupboards.  On the left: Apple peeler/corer/slicer (yes, Mom, I am aware that when we have children this will need to be moved up), salad spinner, and plastic containers.


On the right: Beans, rice, pasta, unopened canned goods, and Caleb's powdered shake stuff.


Stay tuned for more exciting kitchen updates - including our silverware!  ;)

Love and Salsa,
Leah Joy

Thursday, May 9, 2013

Blackout Curtains

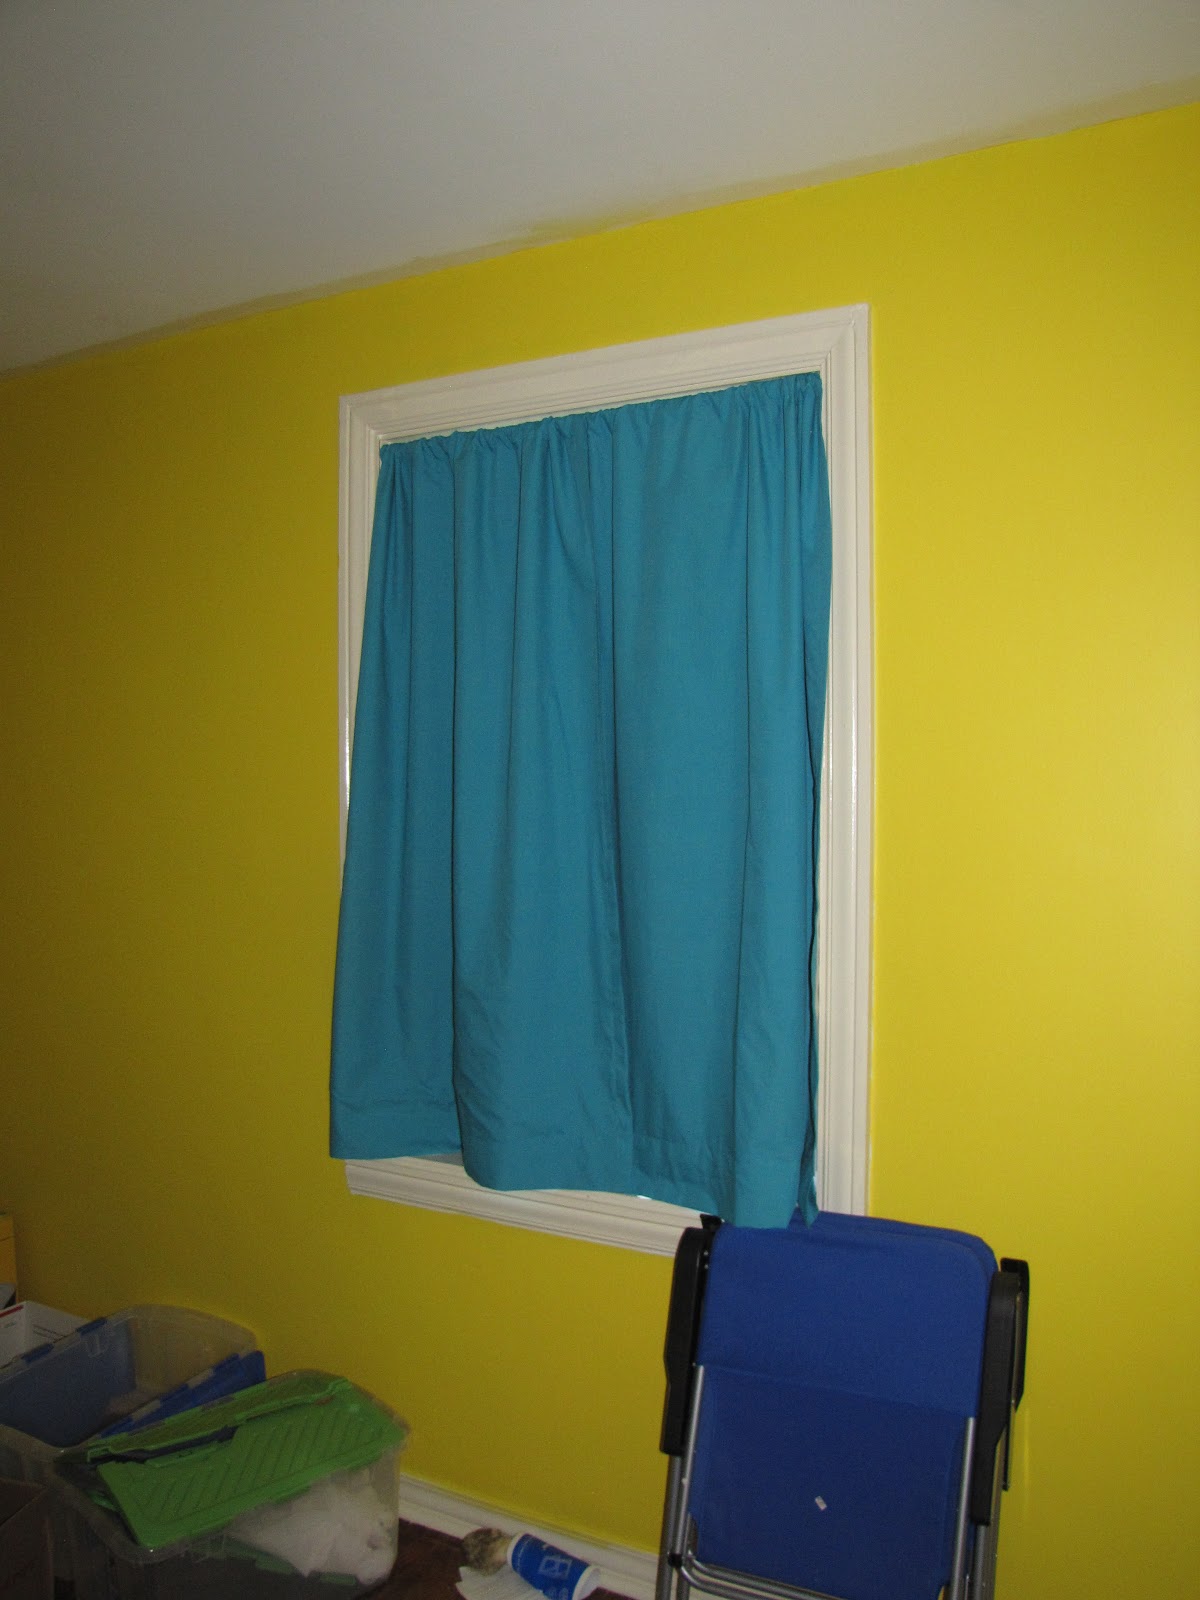
Yesterday, I shared this picture of the curtains I made for our 2nd bedroom:


When picking this project, I wanted something economical, gender-neutral, and very thick.  

These curtains cost me under $20 for two fully-lined blackout panels.  That's half the cost of most of the cheapest options out there, but they're nicer, and exactly the color I wanted.

This room will eventually be a kids' room, but since we aren't even expecting our first kid, it's hard to know if our future first child will be a boy or a girl.  That's why we picked yellow for the room.  It's fairly gender-neutral.  I picked this turquoise for the curtains:


This front fabric is a turquoise broadcloth from Hobby Lobby.  I got it for $2.99/yard (plus I had a 40%-off coupon), and I needed 3.5 yard for this project.  (Note: I did not pick this fabric just because it was the cheapest option.  I really did love this color - the price was just a bonus for our budget!)

I'm not really fond of flash, but it was the only way to show you the turquoise and the yellow together as they actually look.  I love this color combo, and I'm so glad I chose these colors.


How well do these curtains block light?


If I had gone with the more popular outside mount, nothing would show through!  (And I can always add a second tension rod at the bottom to block out the leakage at the bottom.)

I used a blackout lining, available at Hobby Lobby for $5.99/yard (but it's always 30% off - why don't they just give it that price?).  I purchased 3.5 yards, but I only used about 2 of them.


I felt like a professional sewing these, other than the part where I was on my knees for 5 hours.  Professionals probably have nice big tables for this and don't have to settle for the floor. 

I used a size 14 sewing machine needle (heavy duty enough for the thick lining, but still light enough to not pierce unnecessarily large holes for light to shine through) and the closest color of thread I could find.

I'm no seamstress, so I won't give a full tutorial, but I did a one-inch double hem on each side.  Before I stitched them, I put in a piece of lining that was the same width as my finished panel (35" in my case).  I put it inside the hem and then pinned it in place before stitching.  (Note: so many people say you need to hem your lining, and for some linings that's probably true - but this stuff will not unravel even if you try to unravel it.  Believe me, because I tried.)

I ironed down 1/2 an inch, and then 2 inches for the rod pocket at the top, then 1/2 an inch plus whatever was left for the bottom.  I think it was supposed to be 5 inches, but it's not quite that big.  I just did whatever made it the right length.  My lining fabric only goes to the bottom - it does not fold over at all.  (I am not a professional.  In fact, this is only the second set of curtains I have sewn ever, and the first lined set.)

I ironed over the corners a bit so they wouldn't hang funnily off the sides.  Like so:


I apologize that I'm not better at explaining these things, but if you have any questions, I'd be happy to try to elucidate more clearly.

Love and Broadcloth,
Leah Joy

Friday, April 19, 2013

Curtains!

You have all been so patient, not that you had a choice, and I have been obnoxiously holding on to these pictures for a couple weeks now, but it is finally time to show you my adorable curtains!

Now, I doubt I'll ever be a seamstress, but I managed to make 4 semi-straight lines 4 times!

Check 'em out!

Over the sink.

Closed.
You can see that they don't keep out a lot of light, but I didn't need them to be room-darkening curtains.  I just wanted something to block the view - especially since the lights from the road come straight through one of the windows and right down the hallway to our bedroom.  Even with the door closed, these lights still shone under the door and kept me awake.  This curtain, thin as it is, helps block that.

Over the kitchen table.
I spent a lot of time trying to figure out exactly what I wanted, but I'm really glad I chose this option.  We have beautiful trim and molding, and I wanted to show that off, so short curtains on tension rods was the best choice for me.  (Short curtains were the only option in the kitchen, anyway.)


I had a strip of fabric left, and I'll be using it to make tie-backs, which will only make them cuter (and even more like the curtains I always drew as a kid).


Now, they're not perfect, but with curtains, you can hardly tell.  (If you're wondering, I sort of followed this tutorial.  I strayed from it in that the store width of the fabric was my curtain length since my windows are only 35" tall.  I made my panels about 35" wide by 35" long.  This meant that when I sewed the top and bottom parts, I sewed the rod pocket before the bottom part, so that whatever was left could just go to the bottom - if that makes any sense.)  And I'm so proud of them!  

The best part is I got exactly what I wanted for fairly cheap!  The fabric cost me about $17 at Hobby Lobby and the tension rods were $5 for the pair at Big Lots.  There's no way I could have found curtains this perfect for our windows anywhere for that price, let alone ones that I love this much!

Love and Strawberries,
Leah Joy