
Yesterday, I shared this picture of the curtains I made for our 2nd bedroom:

When picking this project, I wanted something economical, gender-neutral, and very thick.
These curtains cost me under $20 for two fully-lined blackout panels. That's half the cost of most of the cheapest options out there, but they're nicer, and exactly the color I wanted.
This room will eventually be a kids' room, but since we aren't even expecting our first kid, it's hard to know if our future first child will be a boy or a girl. That's why we picked yellow for the room. It's fairly gender-neutral. I picked this turquoise for the curtains:

This front fabric is a turquoise broadcloth from Hobby Lobby. I got it for $2.99/yard (plus I had a 40%-off coupon), and I needed 3.5 yard for this project. (Note: I did not pick this fabric just because it was the cheapest option. I really did love this color - the price was just a bonus for our budget!)
I'm not really fond of flash, but it was the only way to show you the turquoise and the yellow together as they actually look. I love this color combo, and I'm so glad I chose these colors.
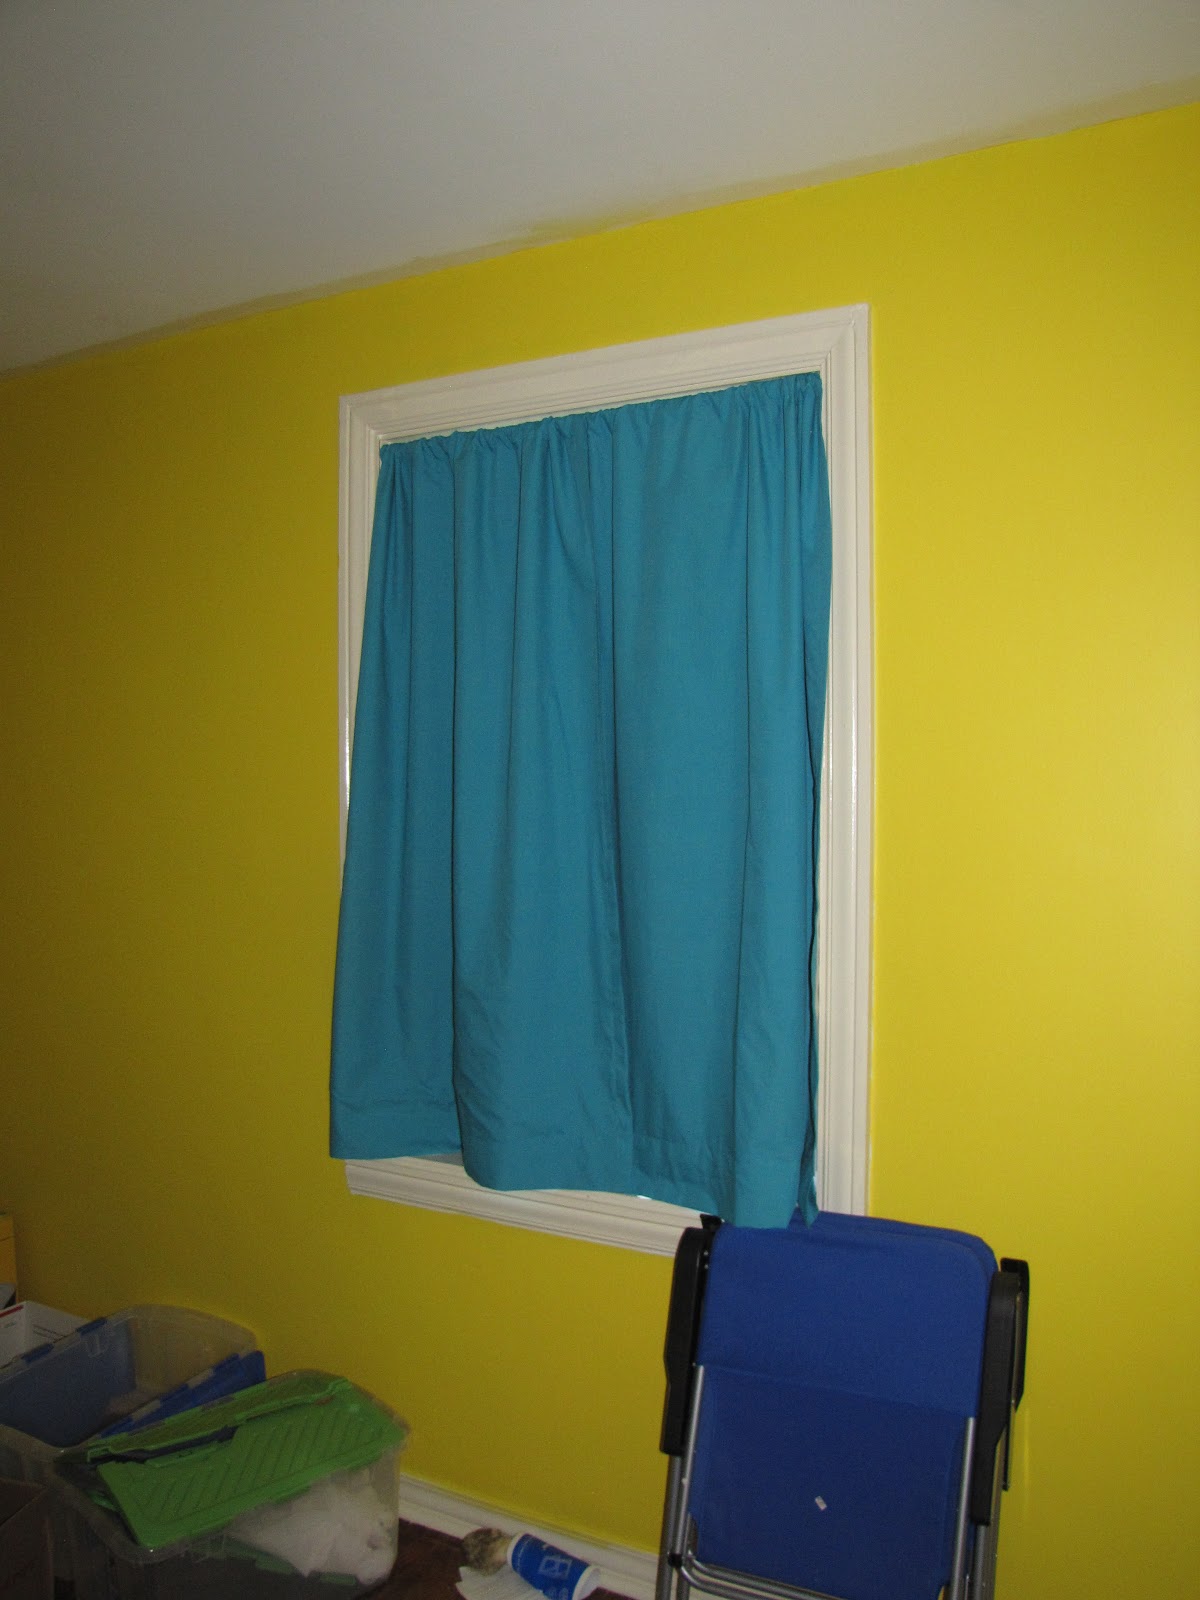
How well do these curtains block light?

If I had gone with the more popular outside mount, nothing would show through! (And I can always add a second tension rod at the bottom to block out the leakage at the bottom.)
I used a blackout lining, available at Hobby Lobby for $5.99/yard (but it's always 30% off - why don't they just give it that price?). I purchased 3.5 yards, but I only used about 2 of them.

I felt like a professional sewing these, other than the part where I was on my knees for 5 hours. Professionals probably have nice big tables for this and don't have to settle for the floor.
I used a size 14 sewing machine needle (heavy duty enough for the thick lining, but still light enough to not pierce unnecessarily large holes for light to shine through) and the closest color of thread I could find.
I'm no seamstress, so I won't give a full tutorial, but I did a one-inch double hem on each side. Before I stitched them, I put in a piece of lining that was the same width as my finished panel (35" in my case). I put it inside the hem and then pinned it in place before stitching. (Note: so many people say you need to hem your lining, and for some linings that's probably true - but this stuff will not unravel even if you try to unravel it. Believe me, because I tried.)
I ironed down 1/2 an inch, and then 2 inches for the rod pocket at the top, then 1/2 an inch plus whatever was left for the bottom. I think it was supposed to be 5 inches, but it's not quite that big. I just did whatever made it the right length. My lining fabric only goes to the bottom - it does not fold over at all. (I am not a professional. In fact, this is only the second set of curtains I have sewn ever, and the first lined set.)
I ironed over the corners a bit so they wouldn't hang funnily off the sides. Like so:

I apologize that I'm not better at explaining these things, but if you have any questions, I'd be happy to try to elucidate more clearly.
Love and Broadcloth,
Leah Joy
No comments:
Post a Comment